

Drupal’s flexibility and power stem largely from its modular architecture, allowing developers to extend and customize functionality through custom drupal module development. If you’re already familiar with Drupal theme development, creating custom modules is the next logical step to truly master the Drupal ecosystem. In this comprehensive tutorial, you’ll learn how to build your first custom Drupal module from scratch, understand how modules interact with themes, and discover best practices that will set you up for success in your Drupal module development journey.
By the end of this guide, you’ll have the knowledge to create modules that enhance your Drupal theme development workflow and add custom functionality to your Drupal sites. Whether you’re building client websites or contributing to the Drupal community, drupal module development is an essential skill in your toolkit.

Table of Contents
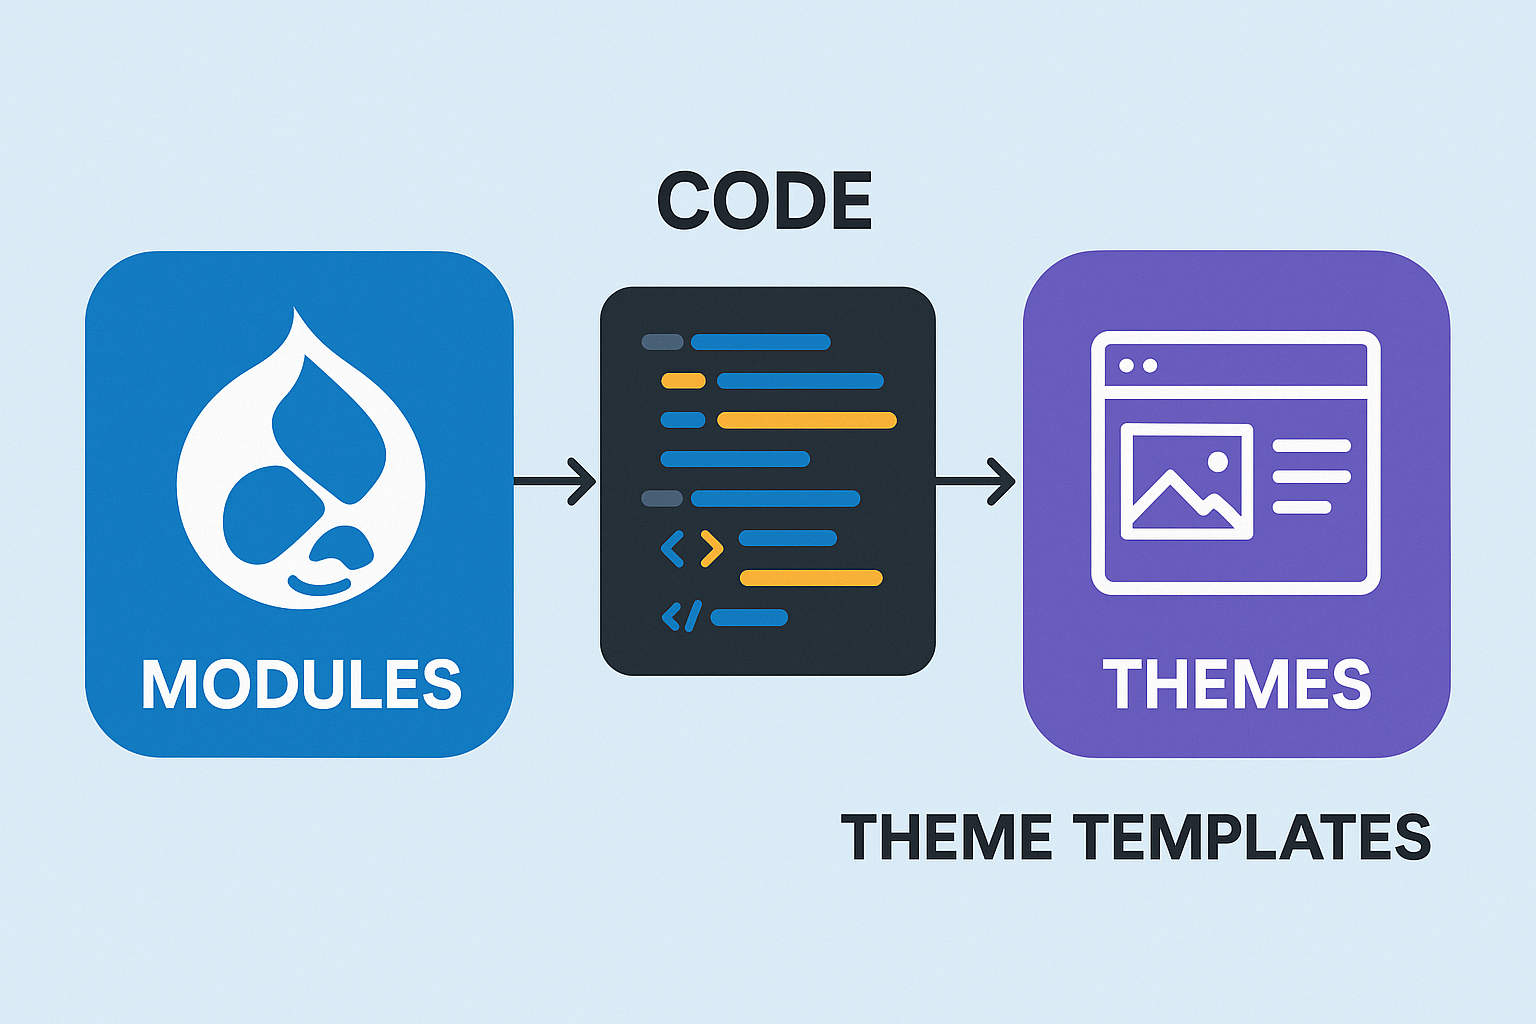
Understanding Drupal’s Architecture: Modules vs. Themes
Before diving into drupal module development, it’s important to understand how modules and themes work together in Drupal’s architecture.
What Are Drupal Modules?
Modules in Drupal are packages of code that extend, enhance, or add functionality to your site. They’re the building blocks that add features beyond Drupal’s core capabilities. Modules can:
- Add new features (like contact forms, media handling, or e-commerce)
- Modify existing functionality
- Integrate with external services
- Alter how content is displayed or processed
How Modules Interact with Themes
While themes control the presentation layer of your Drupal site, modules provide the functionality that themes can leverage. This relationship is crucial to understand:
- Themes determine how content looks visually
- Modules determine what features are available and how they work
- Modules can provide blocks, fields, and entities that themes can style
- Custom modules can enhance theme capabilities by providing additional template variables
In the Drupal 10 era of 2025, this separation of concerns has become even more emphasized, with themes focusing purely on presentation through Twig templates and modules handling all business logic.
Prerequisites for Drupal Module Development
Before you start building your first module, ensure you have:
- A local development environment with Drupal 10.x installed
- Basic knowledge of PHP programming
- Familiarity with Drupal’s hook system
- Command line access to your development environment
- A code editor (VS Code with Drupal extensions recommended as of 2025)
- Git version control (optional but recommended)
- Composer for dependency management
If you’re already doing Drupal theme development, you likely have most of these prerequisites covered already.
Setting Up Your Development Environment
The latest best practices in 2025 for Drupal module development recommend using DDEV, Lando, or Docker-based environments for consistent development experiences.
To prepare your environment:
Ensure your Drupal installation is in development mode by setting this in your settings.php:
php
$settings['container_yamls'][] = DRUPAL_ROOT . '/sites/development.services.yml';

$settings['cache']['bins']['render'] = 'cache.backend.null';

$settings['cache']['bins']['dynamic_page_cache'] = 'cache.backend.null';

$settings['cache']['bins']['page'] = 'cache.backend.null';
Enable module development support:
bash
composer require drupal/devel

drush en devel devel_generate webprofiler -y
Clear Drupal caches after changes:
bash
drush cr
Planning Your First Custom Module
Before writing any code, you should plan your module by defining:
Module Purpose and Functionality
For this tutorial, we’ll create a simple yet practical “Content Highlighter” module that will:
- Allow content editors to highlight specific portions of text
- Add a color picker for selecting highlight colors
- Provide a custom block to display highlighted content
- Integrate with Drupal themes to ensure proper styling
Module Requirements
Our module will:
- Create a custom field type for highlighted text
- Provide a configuration form for default settings
- Include a custom block type
- Add CSS that themes can override
This simple module will demonstrate key concepts while providing actual utility for content creators.
Creating the Module’s Directory Structure
Drupal modules follow a specific directory structure. First, create your module directory:
bash

mkdir -p web/modules/custom/content_highlighter

cd web/modules/custom/content_highlighter

Inside this directory, create the following structure:

content_highlighter/

  ├── content_highlighter.info.yml

  ├── content_highlighter.module

  ├── content_highlighter.install

  ├── content_highlighter.libraries.yml

  ├── config/

  │   └── install/

  │       └── content_highlighter.settings.yml

  ├── css/

  │   └── highlighter.css

  ├── js/

  │   └── highlighter.js

  ├── src/

  │   ├── Form/

  │   │   └── HighlighterSettingsForm.php

  │   └── Plugin/

  │       └── Block/

  │           └── HighlightedContentBlock.php

  └── templates/

      └── highlighted-content.html.twig
This structure follows Drupal 10’s latest conventions as of 2025, ensuring maintainability and compatibility.
Writing the Module’s Info File
The .info.yml file is the module’s identity card. Create content_highlighter.info.yml:
yaml

name: Content Highlighter

type: module

description: 'Provides tools to highlight content with custom colors.'

package: Custom

core_version_requirement: ^10

version: 1.0.0

dependencies:

  - drupal:block

  - drupal:field

  - drupal:color_field:^3.0
Note that in 2025, Drupal 10’s module dependencies use semantic versioning, which is reflected in our dependency on the color_field module.
Implementing Your Module’s Basic Functionality
Now let’s implement the core functionality. We’ll focus on the main files one by one:
The Module File
Create content_highlighter.module:
php

<?php

/**

 * @file

 * Contains content_highlighter.module.

 */

use Drupal\Core\Routing\RouteMatchInterface;

/**

 * Implements hook_help().

 */

function content_highlighter_help($route_name, RouteMatchInterface $route_match) {

  switch ($route_name) {

    case 'help.page.content_highlighter':

      return '<p>' . t('Allows content editors to highlight text with custom colors. Enhances your Drupal theme with styled content highlights.') . '</p>';

  }

}

/**

 * Implements hook_theme().

 */

function content_highlighter_theme() {

  return [

    'highlighted_content' => [

      'variables' => [

        'content' => NULL,

        'highlight_color' => NULL,

      ],

      'template' => 'highlighted-content',

    ],

  ];

}

/**

 * Implements hook_page_attachments().

 */

function content_highlighter_page_attachments(array &$attachments) {

  $attachments['#attached']['library'][] = 'content_highlighter/highlighter';

}
The Install File
Create content_highlighter.install to handle installation and updates:
php

<?php

/**

 * @file

 * Install, update and uninstall functions for Content Highlighter module.

 */

/**

 * Implements hook_install().

 */

function content_highlighter_install() {

  \Drupal::messenger()->addStatus(t('Content Highlighter module has been installed. Configure it under Structure > Content Highlighter Settings.'));

}

/**

 * Implements hook_uninstall().

 */

function content_highlighter_uninstall() {

  \Drupal::configFactory()->getEditable('content_highlighter.settings')->delete();

}

/**

 * Implements hook_schema().

 */

function content_highlighter_schema() {

  $schema['content_highlighter_data'] = [

    'description' => 'Stores highlight data for content.',

    'fields' => [

      'id' => [

        'type' => 'serial',

        'unsigned' => TRUE,

        'not null' => TRUE,

      ],

      'entity_id' => [

        'type' => 'int',

        'unsigned' => TRUE,

        'not null' => TRUE,

        'default' => 0,

      ],

      'entity_type' => [

        'type' => 'varchar',

        'length' => 32,

        'not null' => TRUE,

        'default' => '',

      ],

      'highlight_text' => [

        'type' => 'text',

        'size' => 'medium',

        'not null' => FALSE,

      ],

      'highlight_color' => [

        'type' => 'varchar',

        'length' => 7,

        'not null' => TRUE,

        'default' => '#FFFF00',

      ],

    ],

    'primary key' => ['id'],

    'indexes' => [

      'entity' => ['entity_id', 'entity_type'],

    ],

  ];

  return $schema;

}
The Libraries File
Create content_highlighter.libraries.yml to define CSS and JS assets:
yaml

highlighter:

  version: 1.x

  css:

    theme:

      css/highlighter.css: {}

  js:

    js/highlighter.js: {}

  dependencies:

    - core/jquery

    - core/once

    - core/drupal

Create the CSS File

Create css/highlighter.css:

css

.content-highlight {

  display: inline-block;

  padding: 2px 4px;

  border-radius: 3px;

  transition: background-color 0.3s ease;

}

.content-highlight-tools {

  display: flex;

  gap: 10px;

  margin-bottom: 20px;

  padding: 15px;

  background: #f5f5f5;

  border-radius: 5px;

}
Create the JavaScript File
Create js/highlighter.js:
javascript

(function ($, Drupal, once) {

  'use strict';

  Drupal.behaviors.contentHighlighter = {

    attach: function (context, settings) {

      once('contentHighlighter', '.content-highlight-button', context).forEach(function (element) {

        $(element).on('click', function () {

          const color = $(this).data('color');

          const selection = window.getSelection();

          if (selection.rangeCount > 0) {

            const range = selection.getRangeAt(0);

            const span = document.createElement('span');

            span.className = 'content-highlight';

            span.style.backgroundColor = color;

            try {

              range.surroundContents(span);

              // Save the highlighted content via AJAX

              saveHighlight(selection.toString(), color);

            } catch (e) {

              console.error('Cannot highlight this selection', e);

            }

          }

        });

      });

    }

  };

  function saveHighlight(text, color) {

    // Using Drupal's Ajax API to save the highlight

    Drupal.ajax({

      url: Drupal.url('content-highlighter/save'),

      submit: {

        text: text,

        color: color,

        entity_id: drupalSettings.contentHighlighter.entityId,

        entity_type: drupalSettings.contentHighlighter.entityType

      }

    }).execute();

  }
Creating a Custom Block
Now let’s create the custom block that displays highlighted content:
bash

mkdir -p src/Plugin/Block

Create src/Plugin/Block/HighlightedContentBlock.php:

php

<?php

namespace Drupal\content_highlighter\Plugin\Block;

use Drupal\Core\Block\BlockBase;

use Drupal\Core\Plugin\ContainerFactoryPluginInterface;

use Symfony\Component\DependencyInjection\ContainerInterface;

use Drupal\Core\Database\Connection;

use Drupal\Core\Entity\EntityTypeManagerInterface;

/**

 * Provides a block with highlighted content.

 *

 * @Block(

 *   id = "highlighted_content_block",

 *   admin_label = @Translation("Highlighted Content"),

 *   category = @Translation("Content")

 * )

 */

class HighlightedContentBlock extends BlockBase implements ContainerFactoryPluginInterface {

  /**

   * The database connection.

   *

   * @var \Drupal\Core\Database\Connection

   */

  protected $database;

  /**

   * The entity type manager.

   *

   * @var \Drupal\Core\Entity\EntityTypeManagerInterface

   */

  protected $entityTypeManager;

  /**

   * Constructs a new HighlightedContentBlock.

   *

   * @param array $configuration

   *   A configuration array containing information about the plugin instance.

   * @param string $plugin_id

   *   The plugin_id for the plugin instance.

   * @param mixed $plugin_definition

   *   The plugin implementation definition.

   * @param \Drupal\Core\Database\Connection $database

   *   The database connection.

   * @param \Drupal\Core\Entity\EntityTypeManagerInterface $entity_type_manager

   *   The entity type manager.

   */

  public function __construct(array $configuration, $plugin_id, $plugin_definition, Connection $database, EntityTypeManagerInterface $entity_type_manager) {

    parent::__construct($configuration, $plugin_id, $plugin_definition);

    $this->database = $database;

    $this->entityTypeManager = $entity_type_manager;

  }

  /**

   * {@inheritdoc}

   */

  public static function create(ContainerInterface $container, array $configuration, $plugin_id, $plugin_definition) {

    return new static(

      $configuration,

      $plugin_id,

      $plugin_definition,

      $container->get('database'),

      $container->get('entity_type.manager')

    );

  }

  /**

   * {@inheritdoc}

   */

  public function build() {

    $highlights = $this->getRecentHighlights();

    return [

      '#theme' => 'item_list',

      '#title' => $this->t('Recent Highlights'),

      '#items' => $highlights,

      '#cache' => [

        'max-age' => 300,

        'contexts' => ['user'],

        'tags' => ['content_highlighter:highlights'],

      ],

      '#attached' => [

        'library' => ['content_highlighter/highlighter'],

      ],

    ];

  }

  /**

   * Get recent highlights.

   */

  protected function getRecentHighlights() {

    $items = [];

    $results = $this->database->select('content_highlighter_data', 'ch')

      ->fields('ch', ['id', 'entity_id', 'entity_type', 'highlight_text', 'highlight_color'])

      ->orderBy('id', 'DESC')

      ->range(0, 5)

      ->execute()

      ->fetchAll();

    foreach ($results as $result) {

      // Build renderable array for each highlight

      $items[] = [

        '#theme' => 'highlighted_content',

        '#content' => $result->highlight_text,

        '#highlight_color' => $result->highlight_color,

      ];

    }

    return $items;

  }

}
Creating the Template File
Create templates/highlighted-content.html.twig:
twig

{#

/**

 * @file

 * Template for highlighted content.

 *

 * Available variables:

 * - content: The text content to highlight.

 * - highlight_color: The color code for highlighting.

 */

#}

<div class="highlighted-content-wrapper">

  <span class="content-highlight" style="background-color: {{ highlight_color }}">

    {{ content }}

  </span>

  <div class="highlighted-content-source">

    {# If we have source information, it would go here #}

  </div>

</div>
How Custom Modules Enhance Drupal Module Development
Custom modules like our Content Highlighter provide powerful ways to extend Drupal theme development capabilities. Here’s how modules and themes work together in the Drupal ecosystem:
Providing Theme Variables
Our module provides Twig templates with variables that themes can use. This allows theme developers to:
- Override the highlighted content template in their theme
- Apply custom styling to highlighted elements
- Extend the functionality with theme-specific features
Adding Theme-specific Libraries
The module’s CSS and JS can be extended or overridden by themes using library-extend or library-override in the theme’s .info.yml file:
yaml

libraries-extend:

  content_highlighter/highlighter:

    - mytheme/highlighter-override
Creating Theme-aware Configuration
Our module’s configuration allows site builders to select colors that match the site’s theme palette, ensuring visual consistency.
Exposing Blocks for Theme Placement
By providing a custom block, our module allows theme developers to place highlighted content in any region defined by the theme, offering layout flexibility.
Testing Your Module
Before installing your module, verify your code quality with:
bash

composer require --dev drupal/coder

vendor/bin/phpcs --standard=Drupal web/modules/custom/content_highlighter

To install your module:

bash

drush en content_highlighter -y
Test functionality by:
- Visiting the configuration page (Structure > Content Highlighter Settings)
- Creating content with highlighted text
- Placing the Highlighted Content block in a region
- Checking that highlights display correctly with your theme
Debugging Common Issues
When developing Drupal modules, you may encounter these common issues:
- Cache-related issues: Remember to rebuild cache with drush cr after changes
- Hook implementation errors: Verify hook names and parameters match Drupal’s API
- Theme function errors: Ensure template variables are properly defined
- Database schema issues: Check entity and field definitions
- JavaScript errors: Use your browser’s developer tools to debug
The Devel and WebProfiler modules are invaluable for debugging in 2025’s Drupal ecosystem.
Next Steps and Advanced Techniques
After mastering this basic module, consider these advanced techniques:
- Implement Config Entities: Store complex configuration with fields
- Create Content Entities: Develop fully fieldable highlight entities
- Add REST Integration: Expose your module’s functionality via REST API
- Implement Unit Tests: Ensure module reliability with PHPUnit tests
- Create Admin UI Components: Build advanced interfaces using modern JS frameworks
- Add Migration Support: Support upgrading from earlier versions
- Develop a Complementary Theme: Create a theme that showcases your module’s features
Conclusion: Taking Your Drupal Module Development to the Next Level
You’ve now created your first custom Drupal module that enhances your site’s functionality while integrating seamlessly with Drupal theme development. The Content Highlighter module demonstrates fundamental concepts that you can apply to more complex modules in the future.
By understanding how modules and themes work together, you’re well-equipped to create powerful Drupal solutions that combine beautiful presentation with robust functionality.
Ready to share your work with the Drupal community? Consider contributing your module to Drupal.org or joining a contribution event to collaborate with other developers.
For more advanced Drupal theme development techniques that leverage custom modules, contact the YuzTech team, where we dive deeper into creating theme-module pairs that work in perfect harmony.